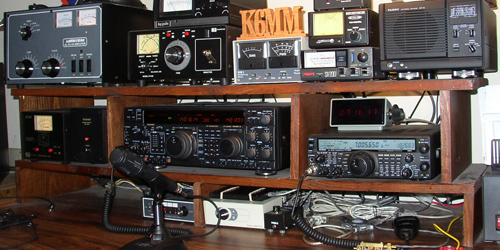
The 2005 Shelf
This shelf holding my equipment was made in about 2 hours from three 48" x 12" x 3/4" pine boards purchased from a local home hardware store for about $15. This shelf is strong enough to hold all of the equipment shown in the photo, without buckling or bending. Having it raised up 4" from the desk allows me to put cables and small boxes underneath to save space. |
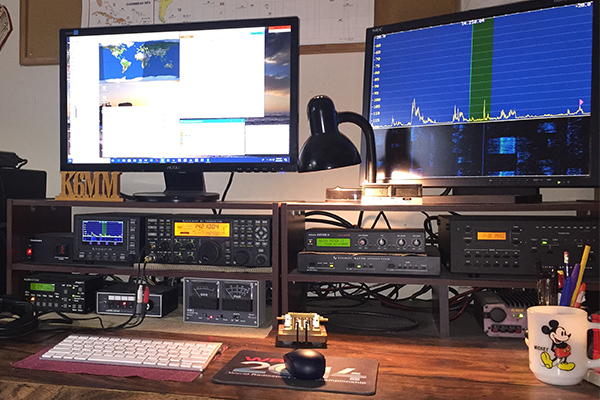
The 2018 Shelf
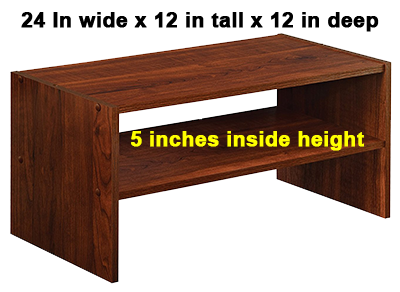
The shelf holding my equipment today was made in about 2 hours from two ClosetMaid shoe racks purchased from Amazon for about $20 each. The inside height of the shelf is 5 inches...more than enough to accommodate most small-form transceivers or amplifiers. My K3 and KPA500 fit perfectly in this shelf. |
Construction details:
1.
Set two boards aside for now (coded yellow and green below).
2. Take the third board and cut it into four 12" x 12" pieces.
3. Cut 4 in. off each of the 12" x 12" pieces, and you will have
- four 8" x 12" pieces (the blue ones below)
- four 4" x 12" pieces (the red ones below)
4. Now glue the 4" x 12" (red pieces) to the bottom shelf (green). I spaced them 24" apart (see diagram). Then nail them to the shelf with 1 " nails. Spacing can vary, but I chose the dimensions in the diagram to fit my equipment needs, and used only 3 of the 4 pieces. Use all 4 of you wish, depending on your needs.
5. Next, glue/nail the four 8" x 12" (blue pieces) to the bottom shelf (green). Spacing can vary, but I chose the dimensions in the diagram to fit my equipment needs.
6. Next, glue/nail the top shelf (yellow) to the 8" x 12" pieces..
7. Finally, you can stain and varnish the completed shelf if you wish to create more of a finished "wooden" look. I chose a walnut color to match my desk.
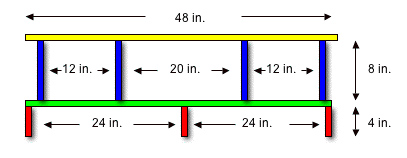
Overall Dimensions of the Shelf
|
Construction details:
1. To strengthen the shelf, I installed several right-angle brackets, also purchased from Amazon for $8.50. I also added a
(see photos below)
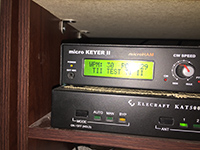 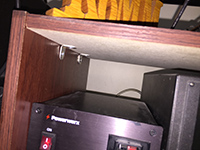
2. The inside height of the shelf is 5 inches easily handles my K3, KPA500, KAT500, P3, Microkeyer II, etc.
3. Decide how high you want the top of the shelf to sit from the top of your desk, and trim the side panels accordingly. In my case, I trimmed two inches, so the total height of each shelf is 10 inches, instead of the original 12 inches. I also added an extra "center support" indicated in blue below.
4. I used two of these "shoe racks" side-by-side to hold most of my equpment. Each is 24 inches wide = total of 48 inches wide on the desk.
I installed these shelves in January 2018. For the last 10 months they've held up very well. Even the XYL thinks they look cool. |